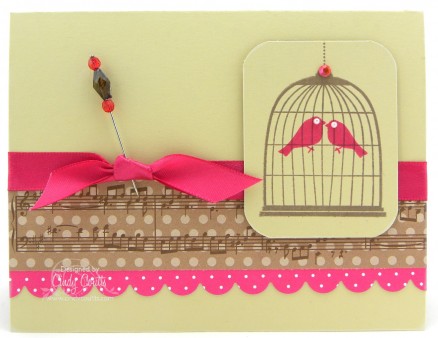
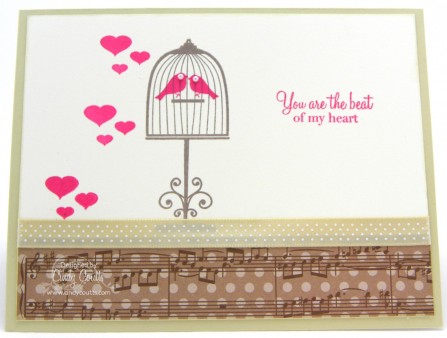
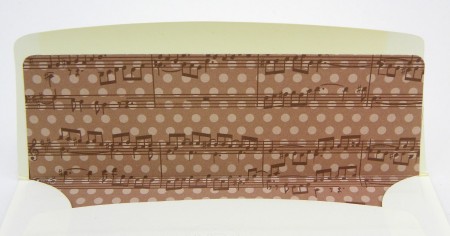
Good morning. I got my Papertrey Ink brand new December release in the mail yesterday and of course, I had to ink up a set. I love their release this month and can't wait to be able to make a lot of fun cards and gifts from it! Today I'd like to share with you a card that I made for Valentine's Day. I'm very pleased with how it turned out and did up the inside, envelope, and even lined the inside of my envelope with designer paper. This is something that I need to start doing more often. I have an awesome organization post coming up for you on a new storage method that I've found for all of my die-cuts because they were a little all over the place and in order to me to fully utilize what I have, I'm one of those who have to stay organized so I know what I have to use it.
I hope you enjoy this card and that it provides you with some inspiration. I pray you have a very Spirit-filled day. Today's Treasure: Ephesians 4:3-6.


1. Cut a piece of linen card stock to A2 size and ink distress the edges with white ink.
2. Cut a piece of polka dot designer paper to 5-1/2 x 1-1/2 and scallop edge die-cut the bottom, the ink distress the edges with tea ink.
3. Cut a piece of music sheet designer paper to 5-1/2 x 2 and ink distress the edges with tea ink.
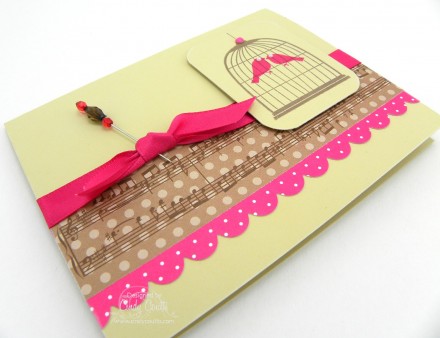
4. Adhere both designer papers to the bottom of the card.
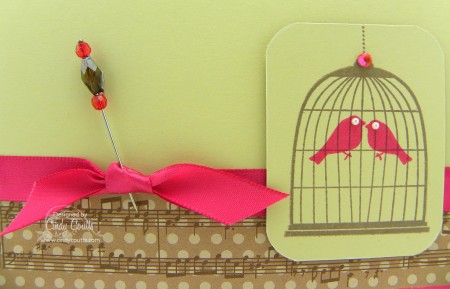
5. Tie a ribbon around the top of the music sheet designer paper into a knot and place a stick pin through the knot.
6. Cut a piece of linen card stock to 2 x 2-5/8, corner round the edges, and ink distress the edges with white ink.
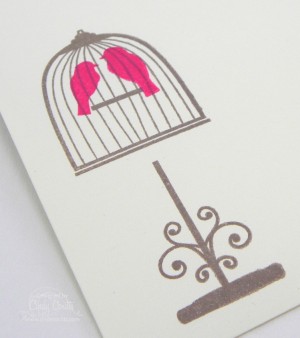
7. Stamp birdcage image and chain in the center of the panel using brown ink.
8. Stamp birds inside the birdcage image with melon ink and adhere faux pearls as the eyes.
9. Place a rhinestone at the top of the birdcage image.
10. Place image panel on foam dots and adhere to the card.
Thank you so much for stopping by my blog today. Please become my friend through Google Friend Connect, sign up for my Newsletter, and subscribe for Blog Updates. I am always blessed by your support and comments!

Cute card! Love the pink birds!
Warm Wishes
Jenn
http://www.jaxbeanstalks.blogspot.com
This is lovely Cindy, love the colors.
Hugs – Rebekka
Very cute! Love the colors on this one and you always have such creative accessories too! I have nominated you for the stylish blogger award…check out the dets on my blog. Merry Christmas!
I am love love loving that music stamp!!! What gorgeousness!
I really like the colors and that sheet music paper! The sequin was also a great touch.
And I'm excited to see your article on organizing! I'm struggling because it works best for me to see my supplies and I just don't have space to keep them all in front of me.
Ooooooh, very tweet cards! Fresh and adorable. Love the stamps!